
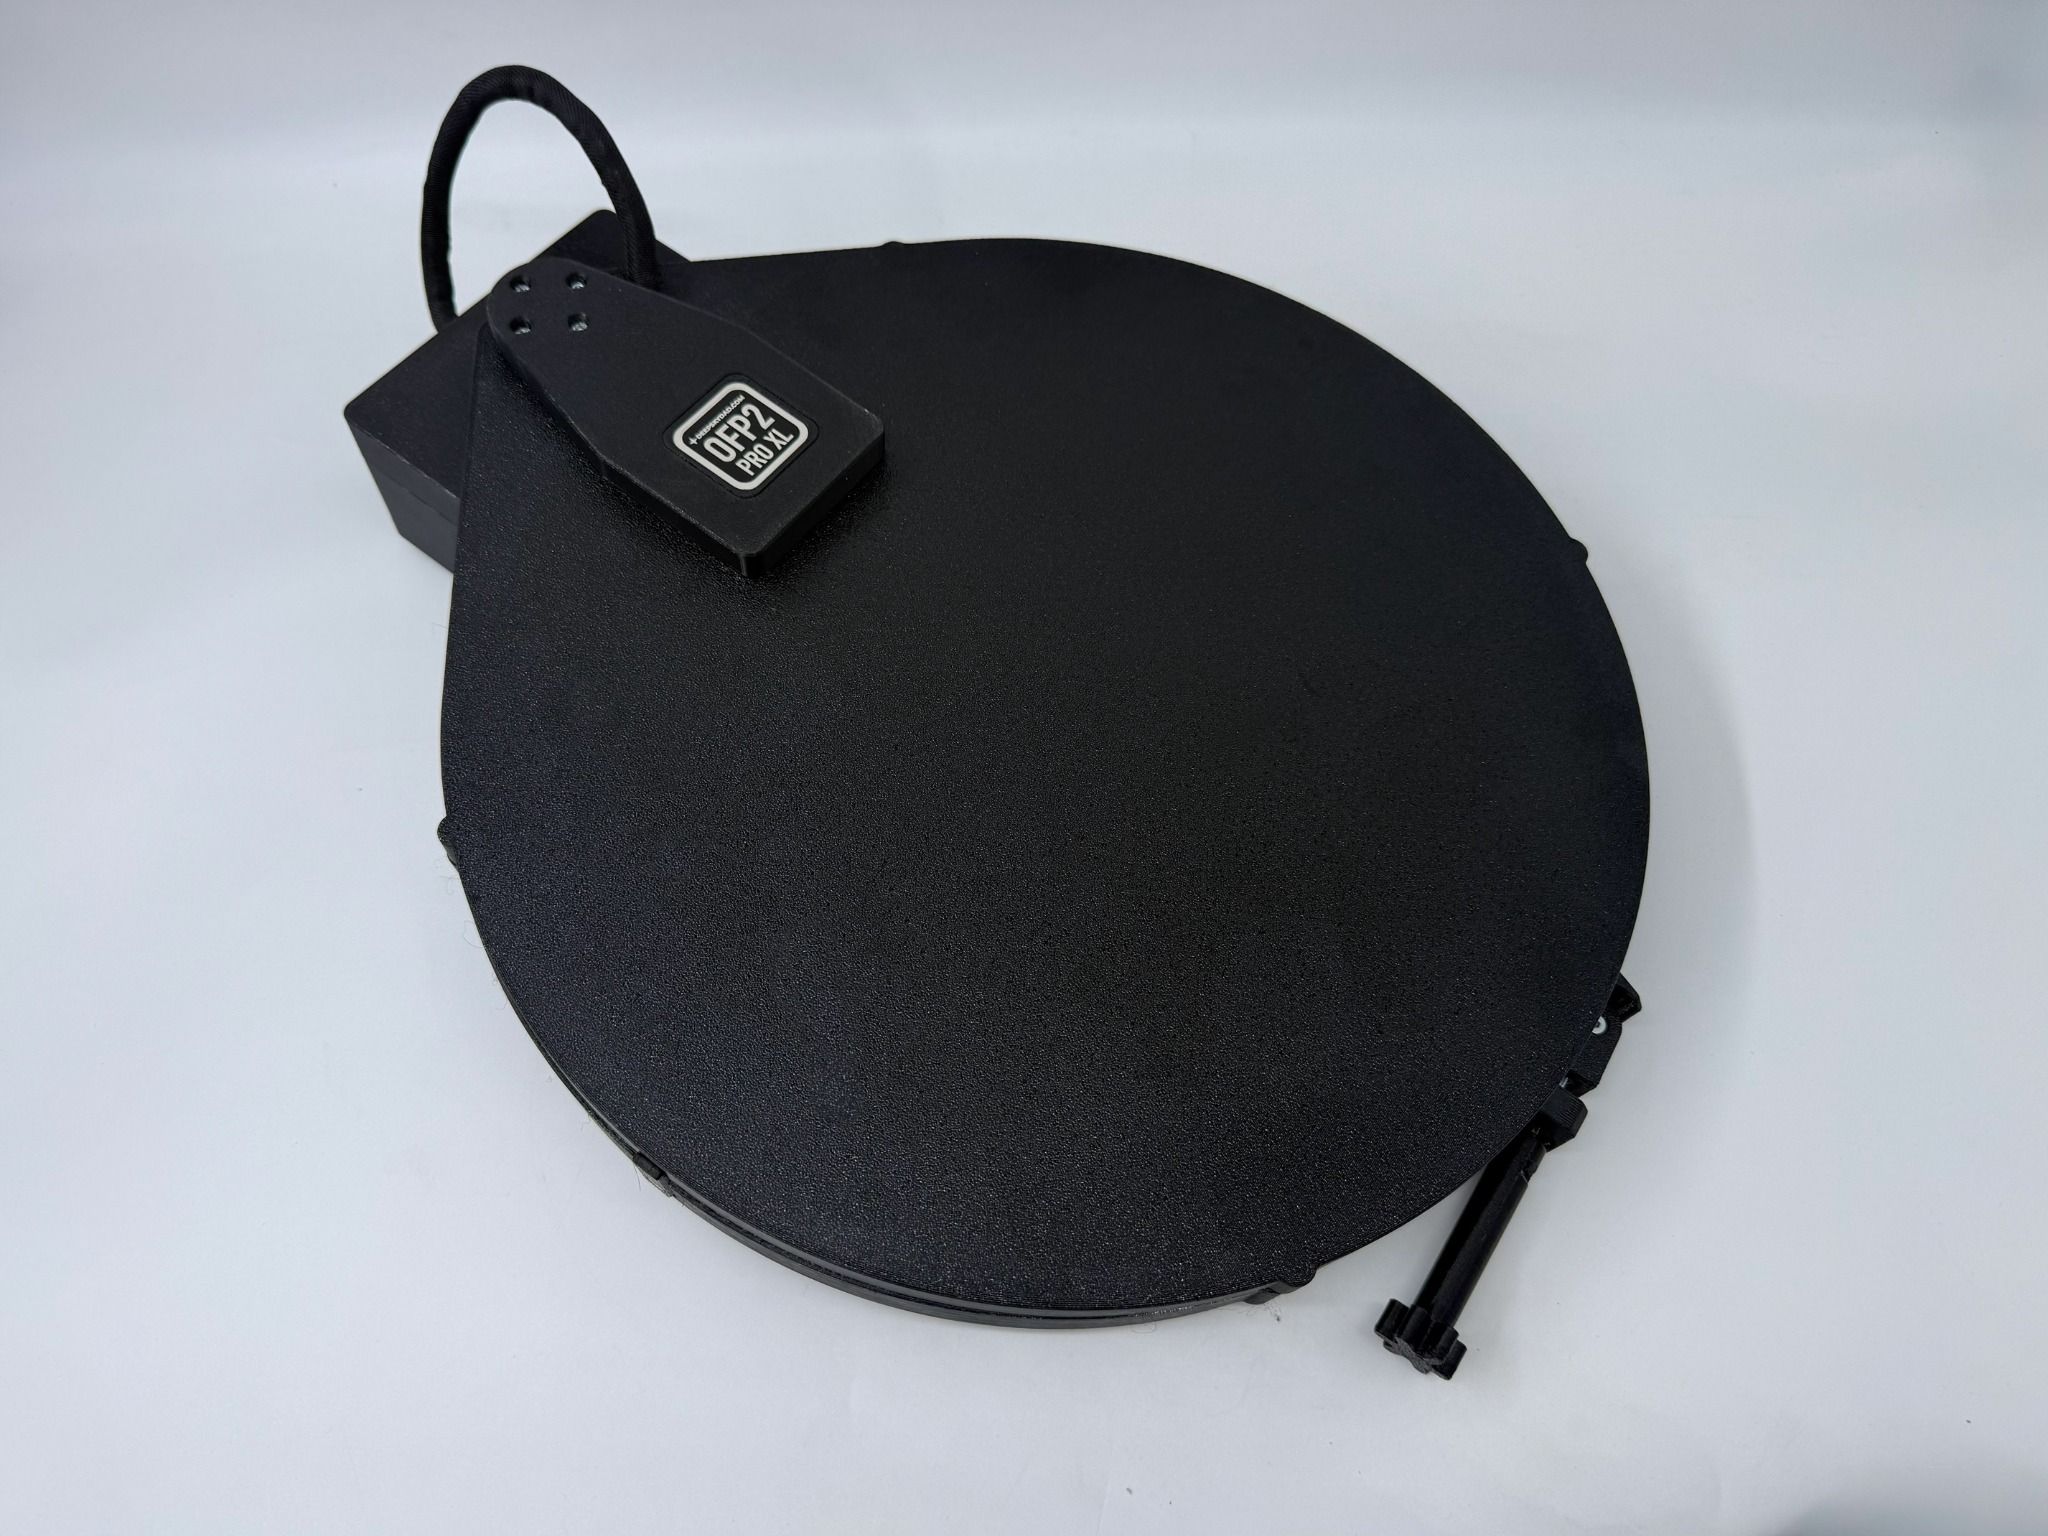
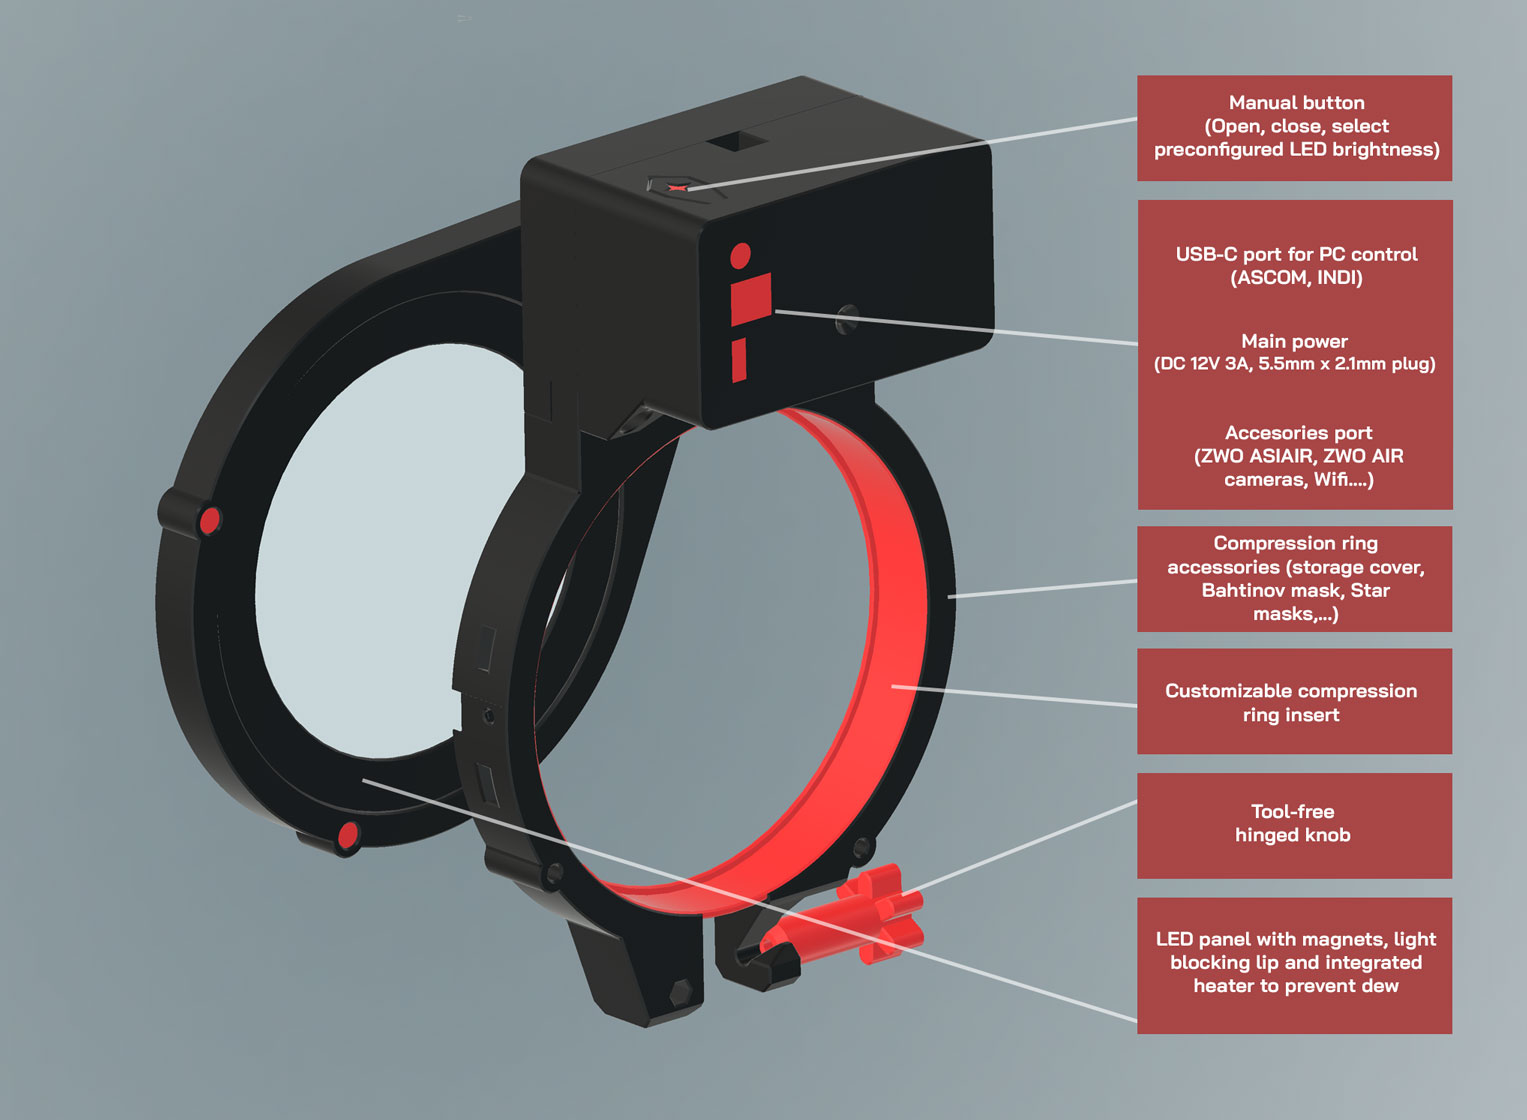
OFP2 PRO XL Motorized Observatory Flat Panel
Flat-frame acquisition should be simple, reliable, and easy to automate. The OFP2 PRO XL motorized observatory flat panel is designed to make flats a seamless part of your imaging workflow, without improvised solutions such as LCD screens, T-shirts, or the morning sky.
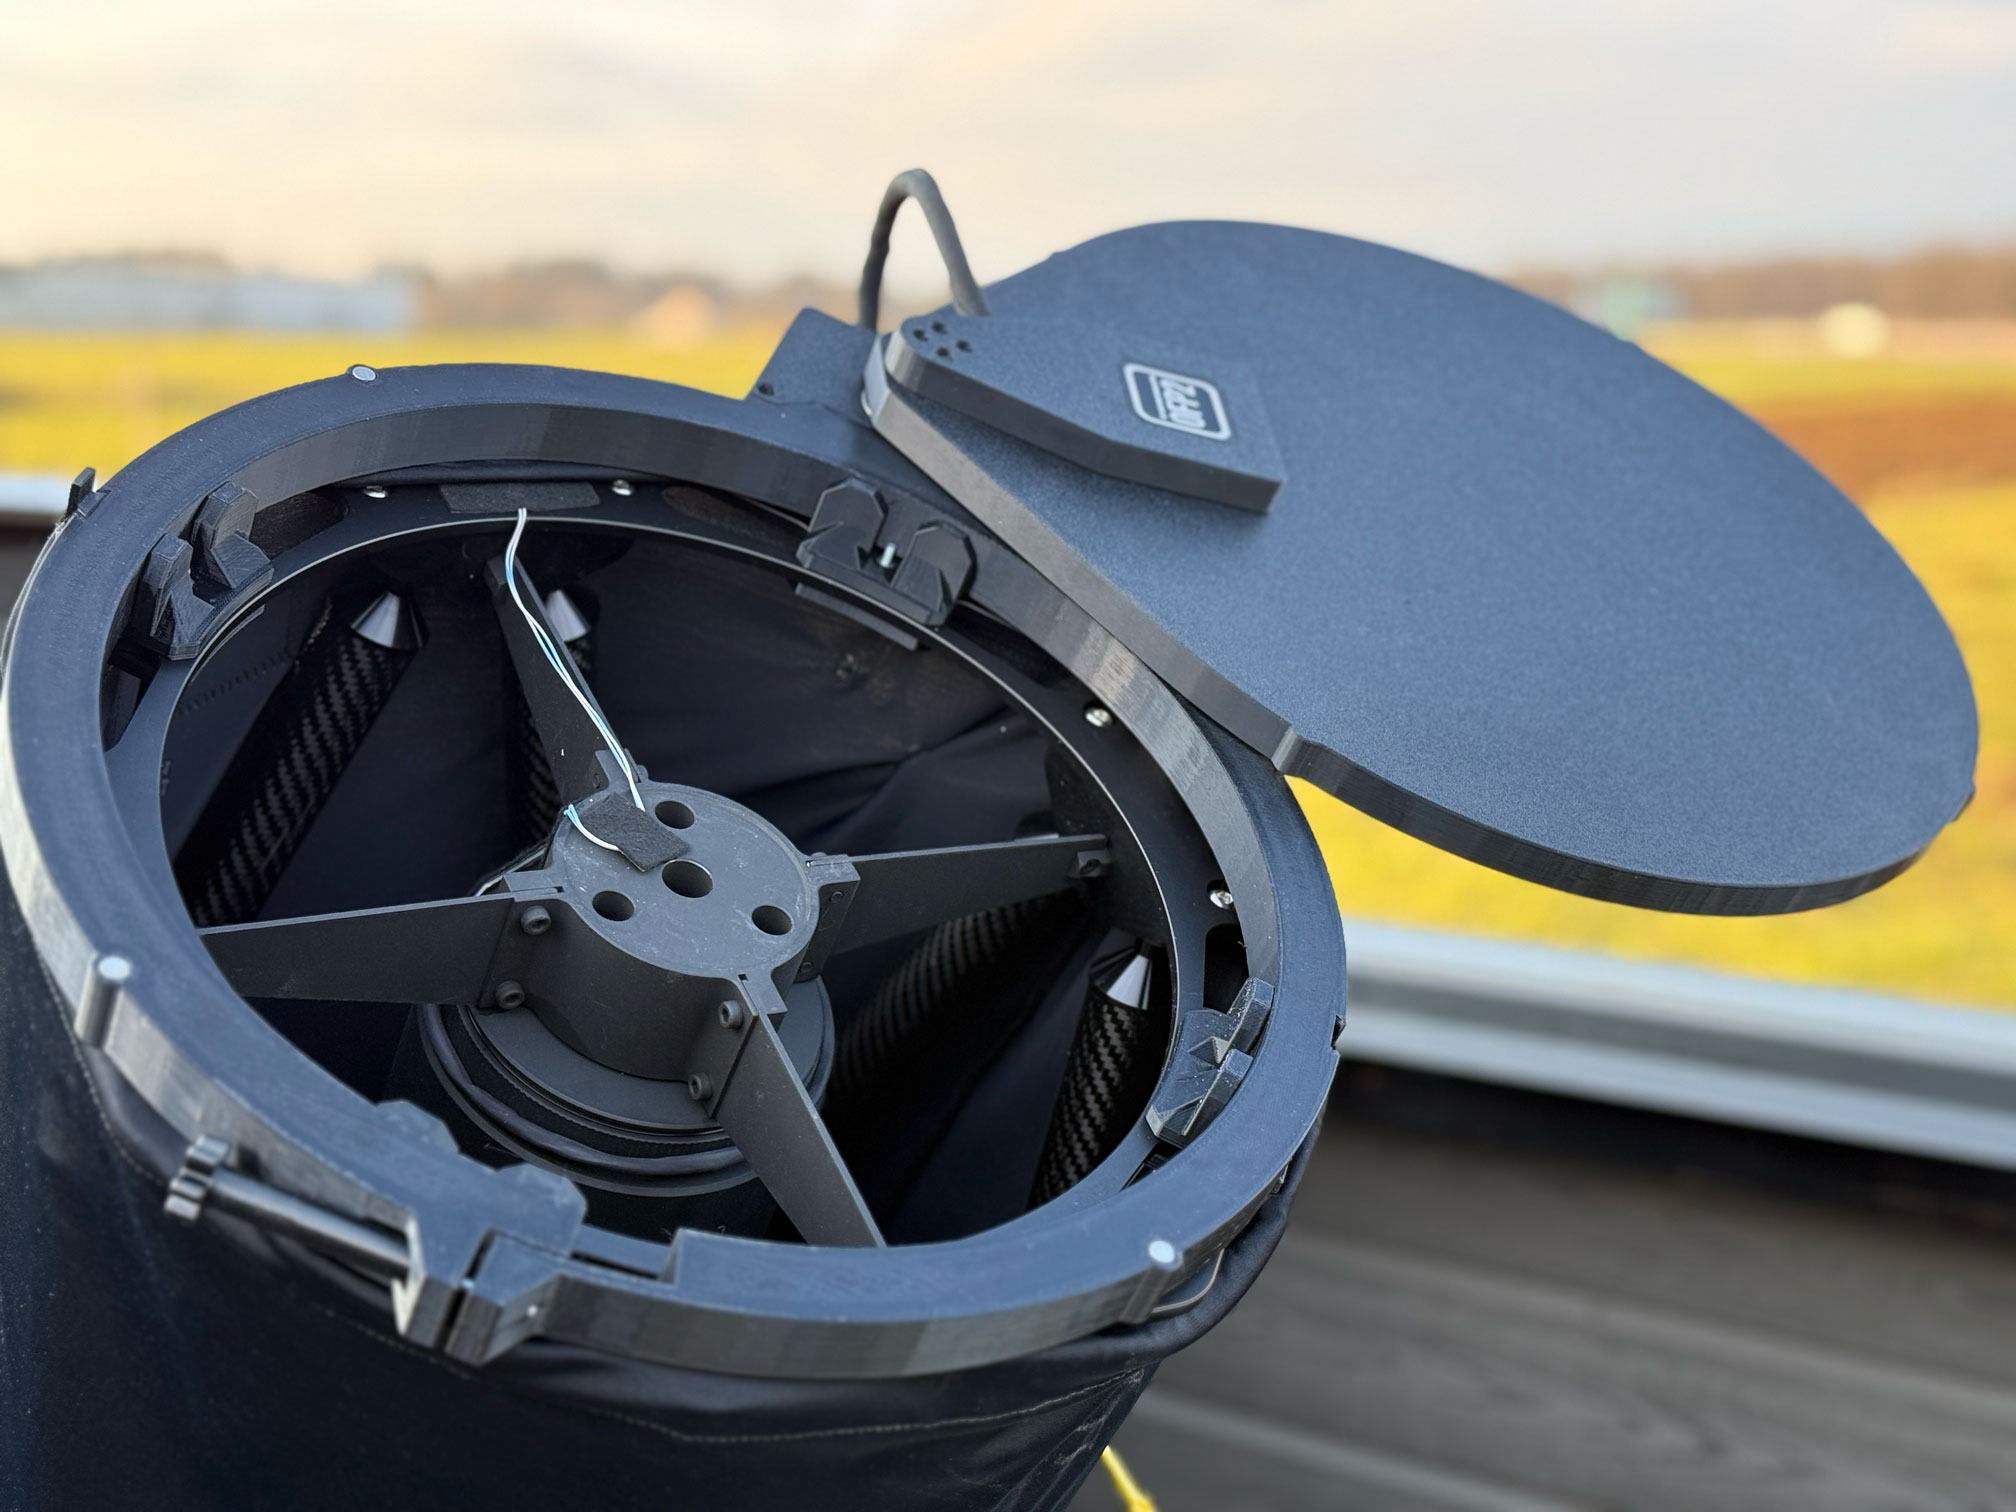
Unlike traditional designs, the OFP2 PRO XL moves sideways, which means it does not increase the total length of your setup and does not require additional clearance space behind the telescope to operate. This makes it especially well suited for observatory and permanently mounted systems where space efficiency matters.
During imaging, the panel remains neatly positioned beside the refractor tube. When your session is finished, it simply slides sideways into place and switches on the dimmable LED light to capture flat frames. Brightness can be adjusted to match your camera settings, gain, and filters for consistent results across different setups.
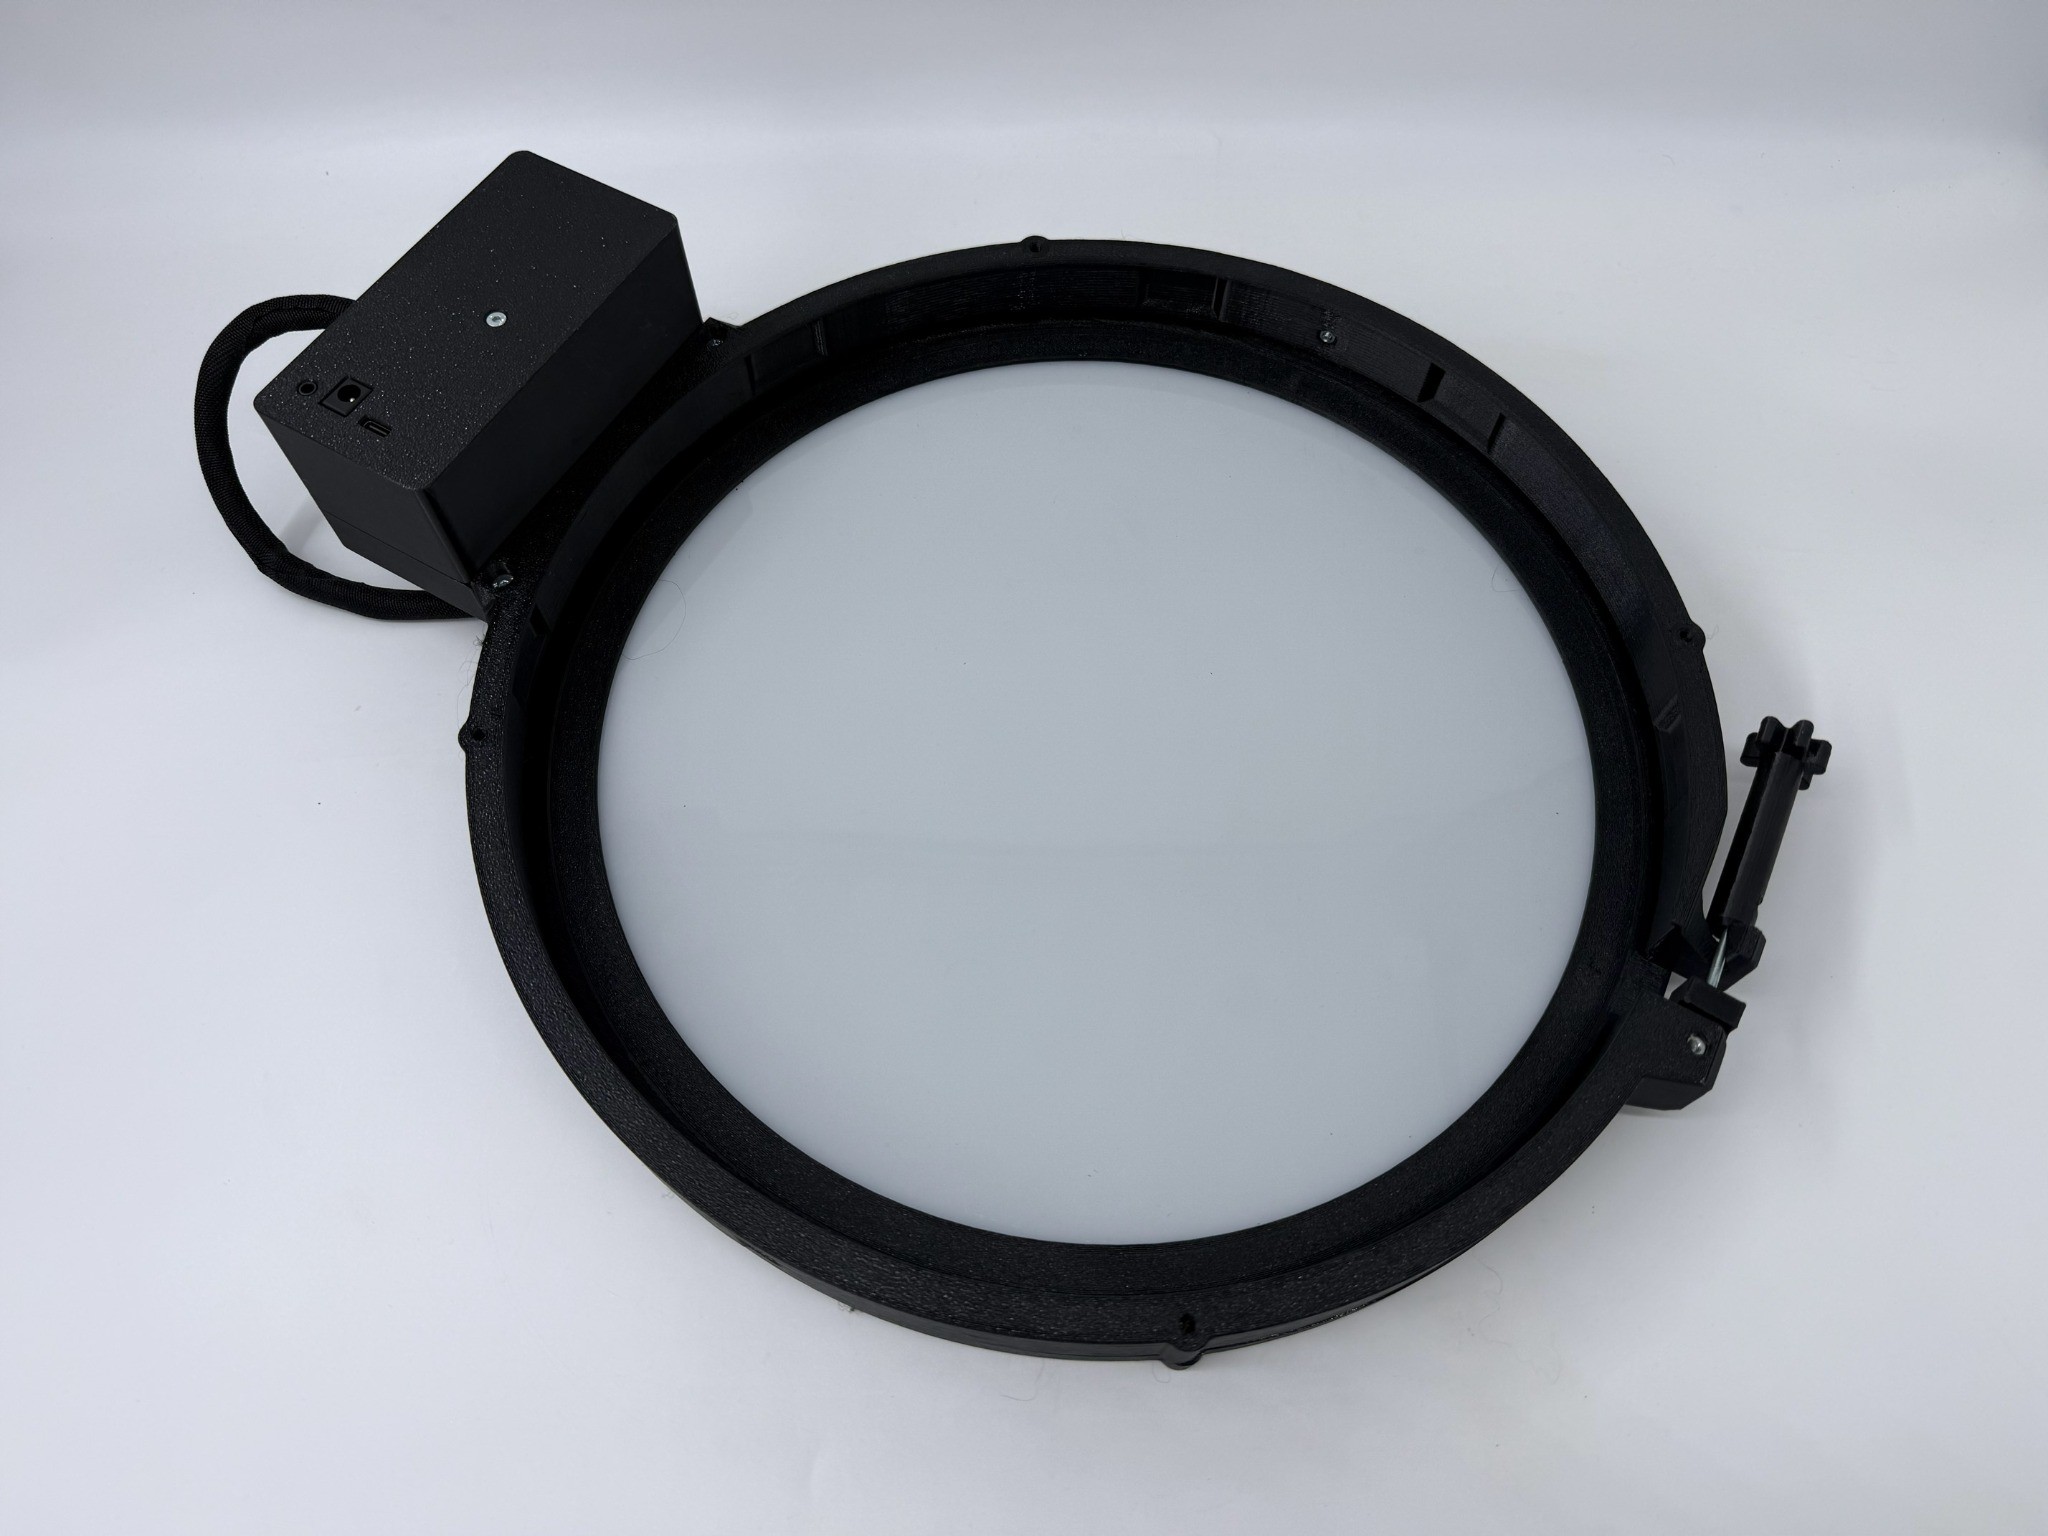
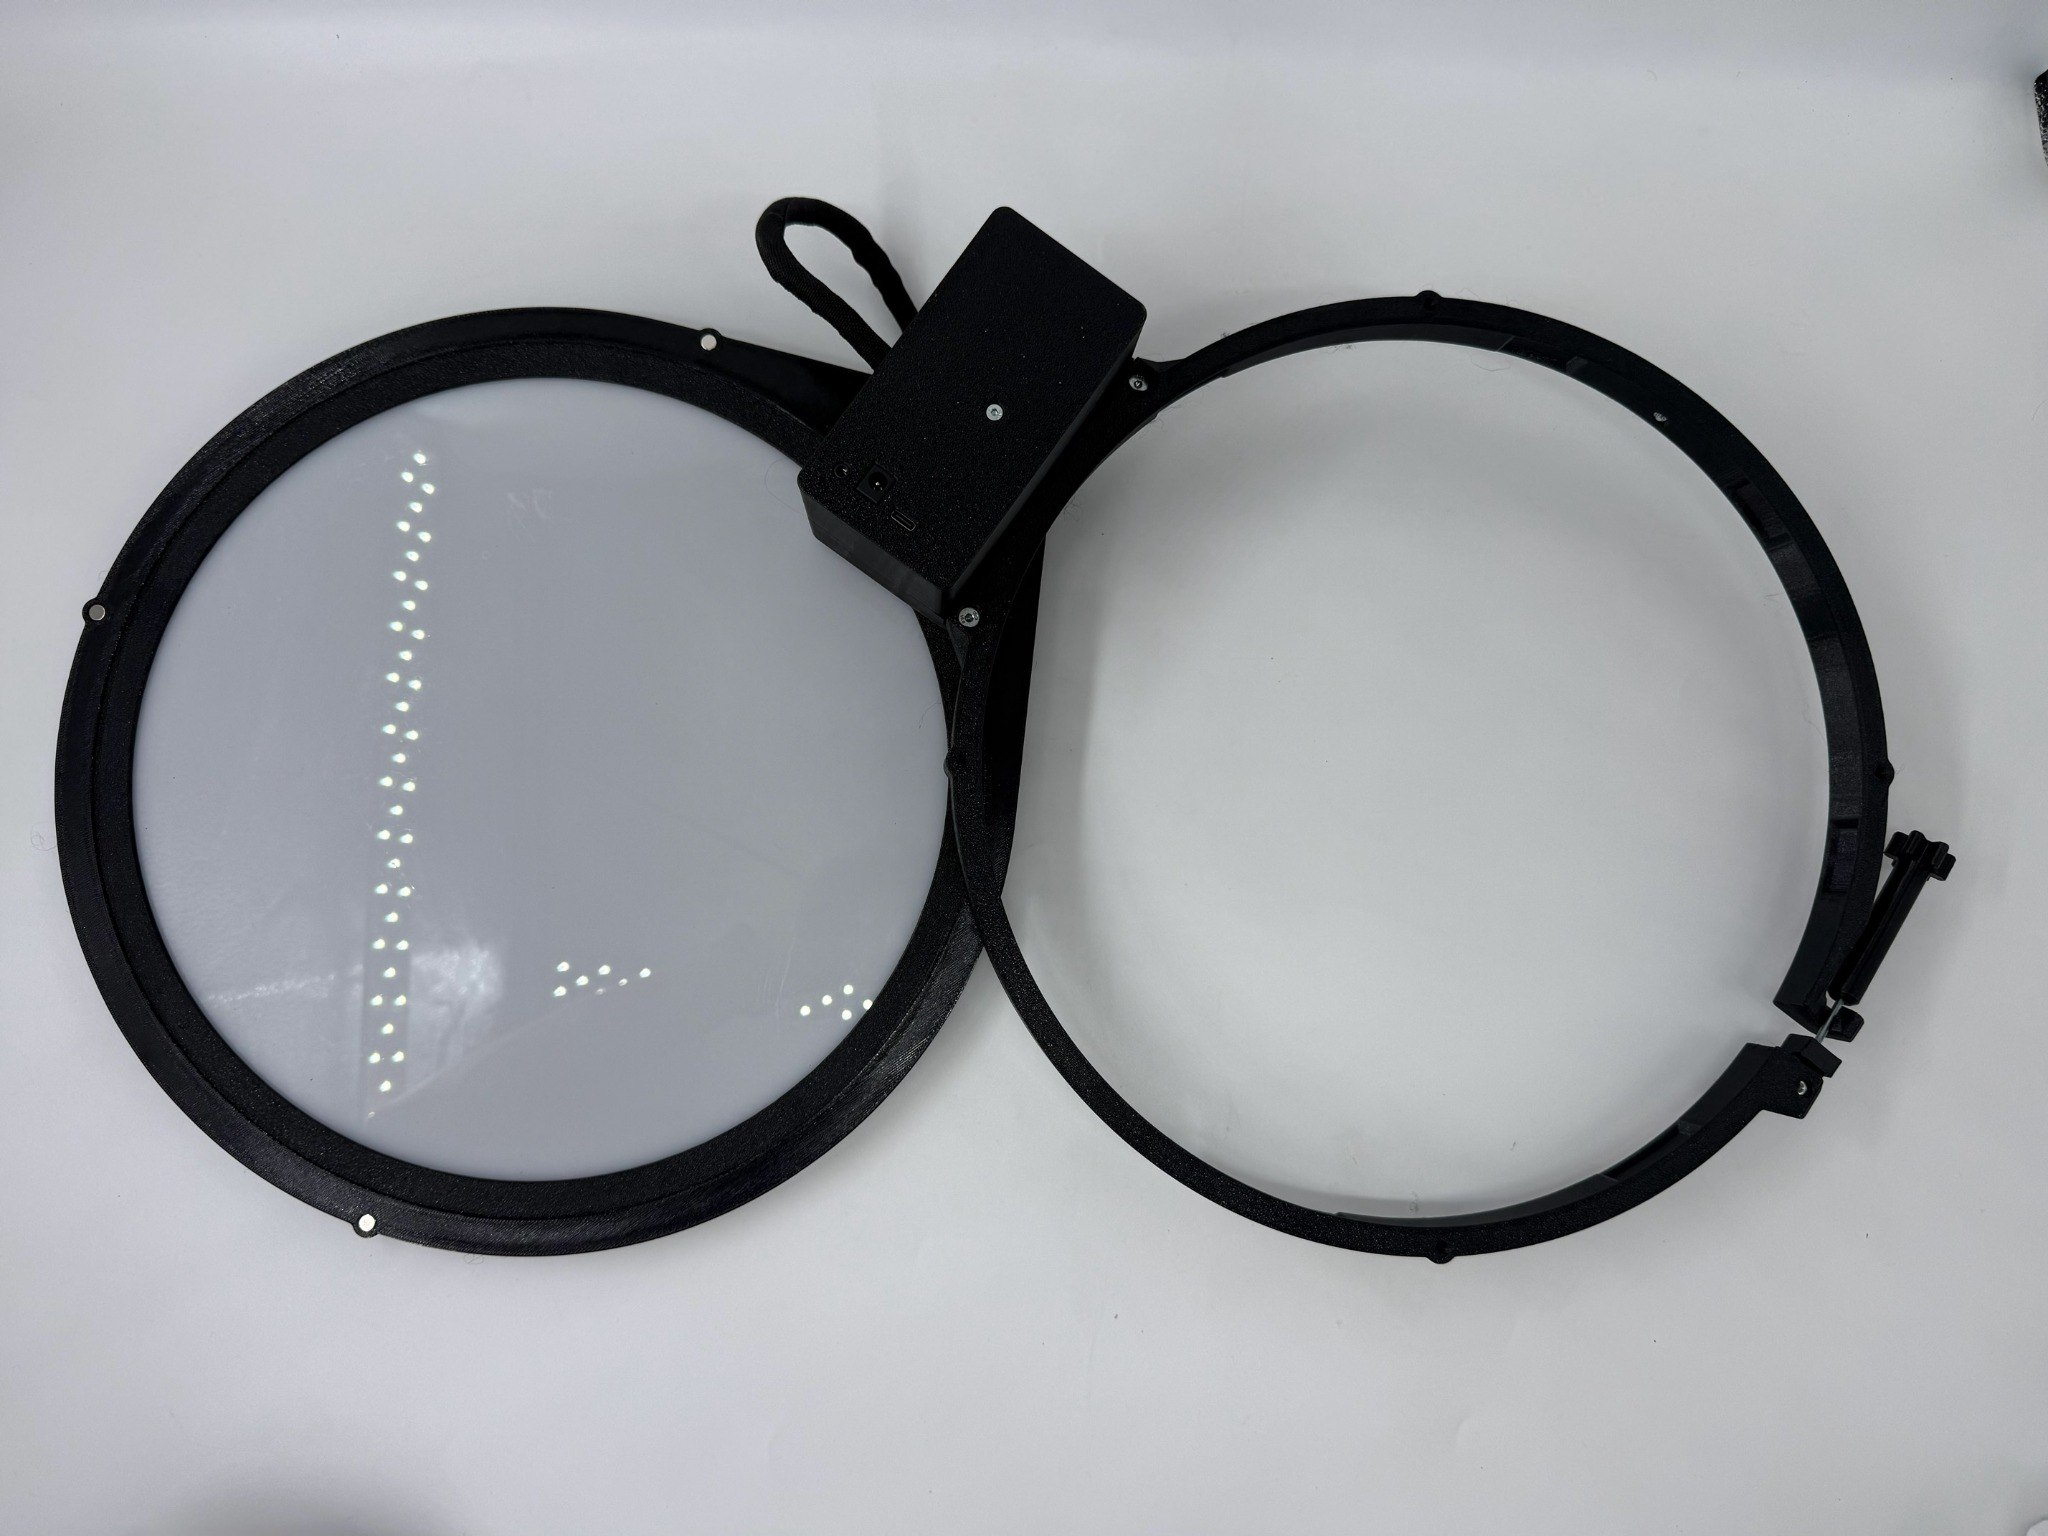
To improve reliability in humid conditions, a dew heater behind the LED panel is now included free with all of our motorized flat panels. It helps remove moisture from the LED surface and reduces the risk of dew being trapped against the OTA when the panel is closed after the session.
The new OFP2 PRO XL generation is designed for larger telescopes and brings a number of practical improvements based on customer feedback. It is intended for 8″ to 11″ telescopes and features a much stronger motor and a wider compression ring for improved stability and support on larger optical tubes. It also includes improved sealing performance, improved hinge design, compression rings customized for your telescope with improved design and swappable inserts, and advanced convenience features such as custom open position and integrated obstacle detection.
Combined with upgraded electronics and advanced control features, the OFP2 PRO XL is built to deliver a cleaner, more reliable, and more convenient flat-frame workflow for larger observatory imaging systems. We also plan to expand the XL lineup further in the future with units for 14″ to 16″ telescopes.
Whether you are building a fully automated observatory setup or simply want a more elegant and compact way to capture flats on a larger telescope, the OFP2 PRO XL is designed to make your routine faster, easier, and more dependable.
Features
- New OFP2 PRO XL design for 8″ to 11″ telescopes
- Much stronger motor
- Wider compression ring
- Sideways-moving panel design with no added setup length and no rear clearance requirement
- Compression rings customized for your telescope, with improved design, swappable inserts, and optional notches for heater cables
- Improved hinge design, better sealing performance, and easy installation with no bolts, 1x hand-tightening knob, and no fiddly zip ties
- ARM Cortex processor with cross-platform control panel for Windows, Linux, and macOS
- Dimmable LED light with built-in LED heater (included)
- Servo motor with encoder, manual control button, and built-in magnets for secure open and closed positioning
- High brightness selection resolution, 12-bit (0–4096)
- Integrated obstacle detection, and automatic range calibration
- ASCOM support – USB connection via the included USB-C cable, with automatic port detection and support for up to 6 concurrent devices
- ASCOM Alpaca support – wireless control over the network using the optional FP2 Wi-Fi Module
- INDI support – control from compatible INDI-based software
- ASIAIR / ZWO AIR support – ASIAIR PRO & PLUS via the optional dedicated ASIAIR cable, or ASIAIR PRO, PLUS, MINI & ZWO AIR cameras via the optional FP2 Wi-Fi Module
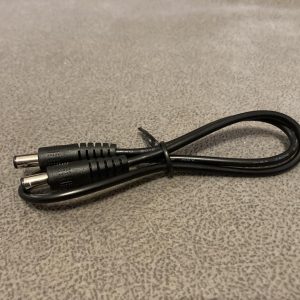
- USB-C cable (included)
- Power requirements: 12V 3A (not included)
Dimensions
We are currently offering the following 6 different categories of flap panels:
| Category | Dimensions
(W x H x D in mm) |
Min. dewshield dia. (mm) | Max. dewshield dia. (mm) | Effective LED diameter (mm) | Weight (g) |
| OFP260 | 278 x 359 x 89 | 190 | 255 | 235 | TBD |
| OFP300 | 318 x 399 x 89 | 190 | 295 | 275 | TBD |
| OFP330 | 348 x 429 x 89 | 190 | 325 | 305 | ~1640 |
Installation
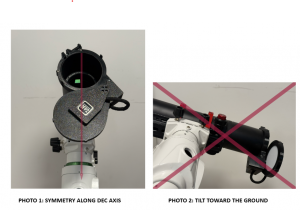
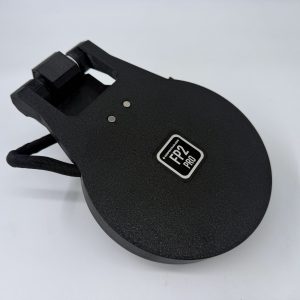
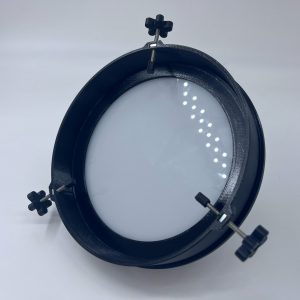
Installing the observatory flap panel is straightforward and somewhat arbitrary, though a few tips can help optimize its performance. First, open the panel about 90° and slide it onto the dew shield so that its front of the compression ring aligns with the front edge of the dew shield, facing the mount saddle. For best results, ensure the panel is symmetric along the declination axis (see photo 1 below). This alignment maintains telescope balance, keeps the guide scope’s typical view unobstructed, and prevents the panel from colliding with obstacles during mount movement. Secure the panel with a hand-tightened bolt—avoid over tightening to prevent cracking the plastic—and close it before powering up.
Additionally, when the telescope is parked—especially with the larger 8″ and 10″ models—try to make sure the panel is not tilted toward the ground, preventing unnecessary flexing and allowing the magnets to snap it shut effectively (see photo 2 below). If you wish to reverse the opening direction, simply reposition the limiter on the compression ring to the other side and recalibrate the panel.
Reviews
There are no reviews yet.